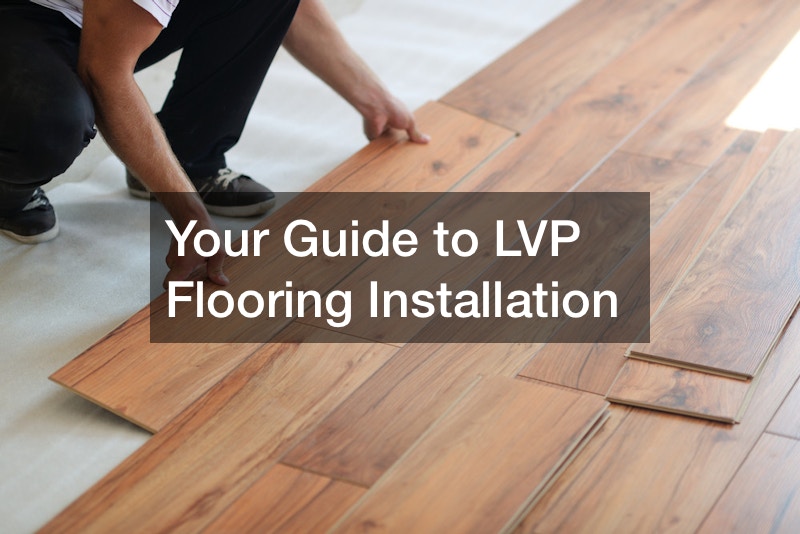
This video shows how to install vinyl plank flooring in a laundry room. The presenter measured the room to determine how many vinyl planks were necessary. They emphasized purchasing extra planks to cover any mistakes or future repairs.
Once the planks are ready, it’s time to lay down an underlayment, which helps reduce noise and provides a smooth surface for the vinyl planks. It’s important to follow the manufacturer’s instructions for the specific underlayment. Once that’s out of the way, the presenter lays the vinyl planks, starting from one corner of the room.
This process involves leaving a small gap between the planks and the walls to allow for expansion and contraction. Spacers ensure consistent spacing throughout the installation. A utility knife and a straight edge help cut the planks to fit around doorways or other obstacles. Another key thing is scoring the plank multiple times before snapping it to ensure a clean cut.
Once the transition piece and carpet are complete, they lay a full vinyl plank against the left wall, ensuring a small gap for expansion. A tapping block and rubber mallet secure the plank in place. Doing so makes it easier to lay additional planks, staggering the seams to create a more natural look.
Planks fit around obstacles like doorways or vents thanks to accurate measurements. A jigsaw or utility knife helps make precise cuts. They made sure to leave a small gap around these obstacles to allow for expansion. As LVP flooring contractors progressed across the room, they checked the alignment and level of the planks to ensure a smooth and even surface.
.

