Insulating your attic is one of the best ways to save energy, lower utility bills, and keep your home comfortable all year round. Whether you’re prepping for an attic renovation or just want to stop cold air leaks in the winter, this guide will walk you through everything you need to know—step by step and in plain language.
Why Insulating Your Attic Matters
Attics are one of the main places where heat escapes from your home in winter and enters during summer. Without proper insulation, your heating and cooling systems have to work harder—costing you money and energy.
Benefits of insulating an attic:
- Keeps your home warm in winter and cool in summer
- Lowers your heating and cooling bills
- Reduces noise from outside
- Helps prevent ice dams on the roof
- Increases your home’s value
Know Your Attic: Types & Access Points

Before you start, it’s important to understand what kind of attic you have. This will help you decide how to approach insulation.
- Unfinished Attic (used for storage or unused):
Insulation is usually added to the attic floor. This keeps the living space below warm.
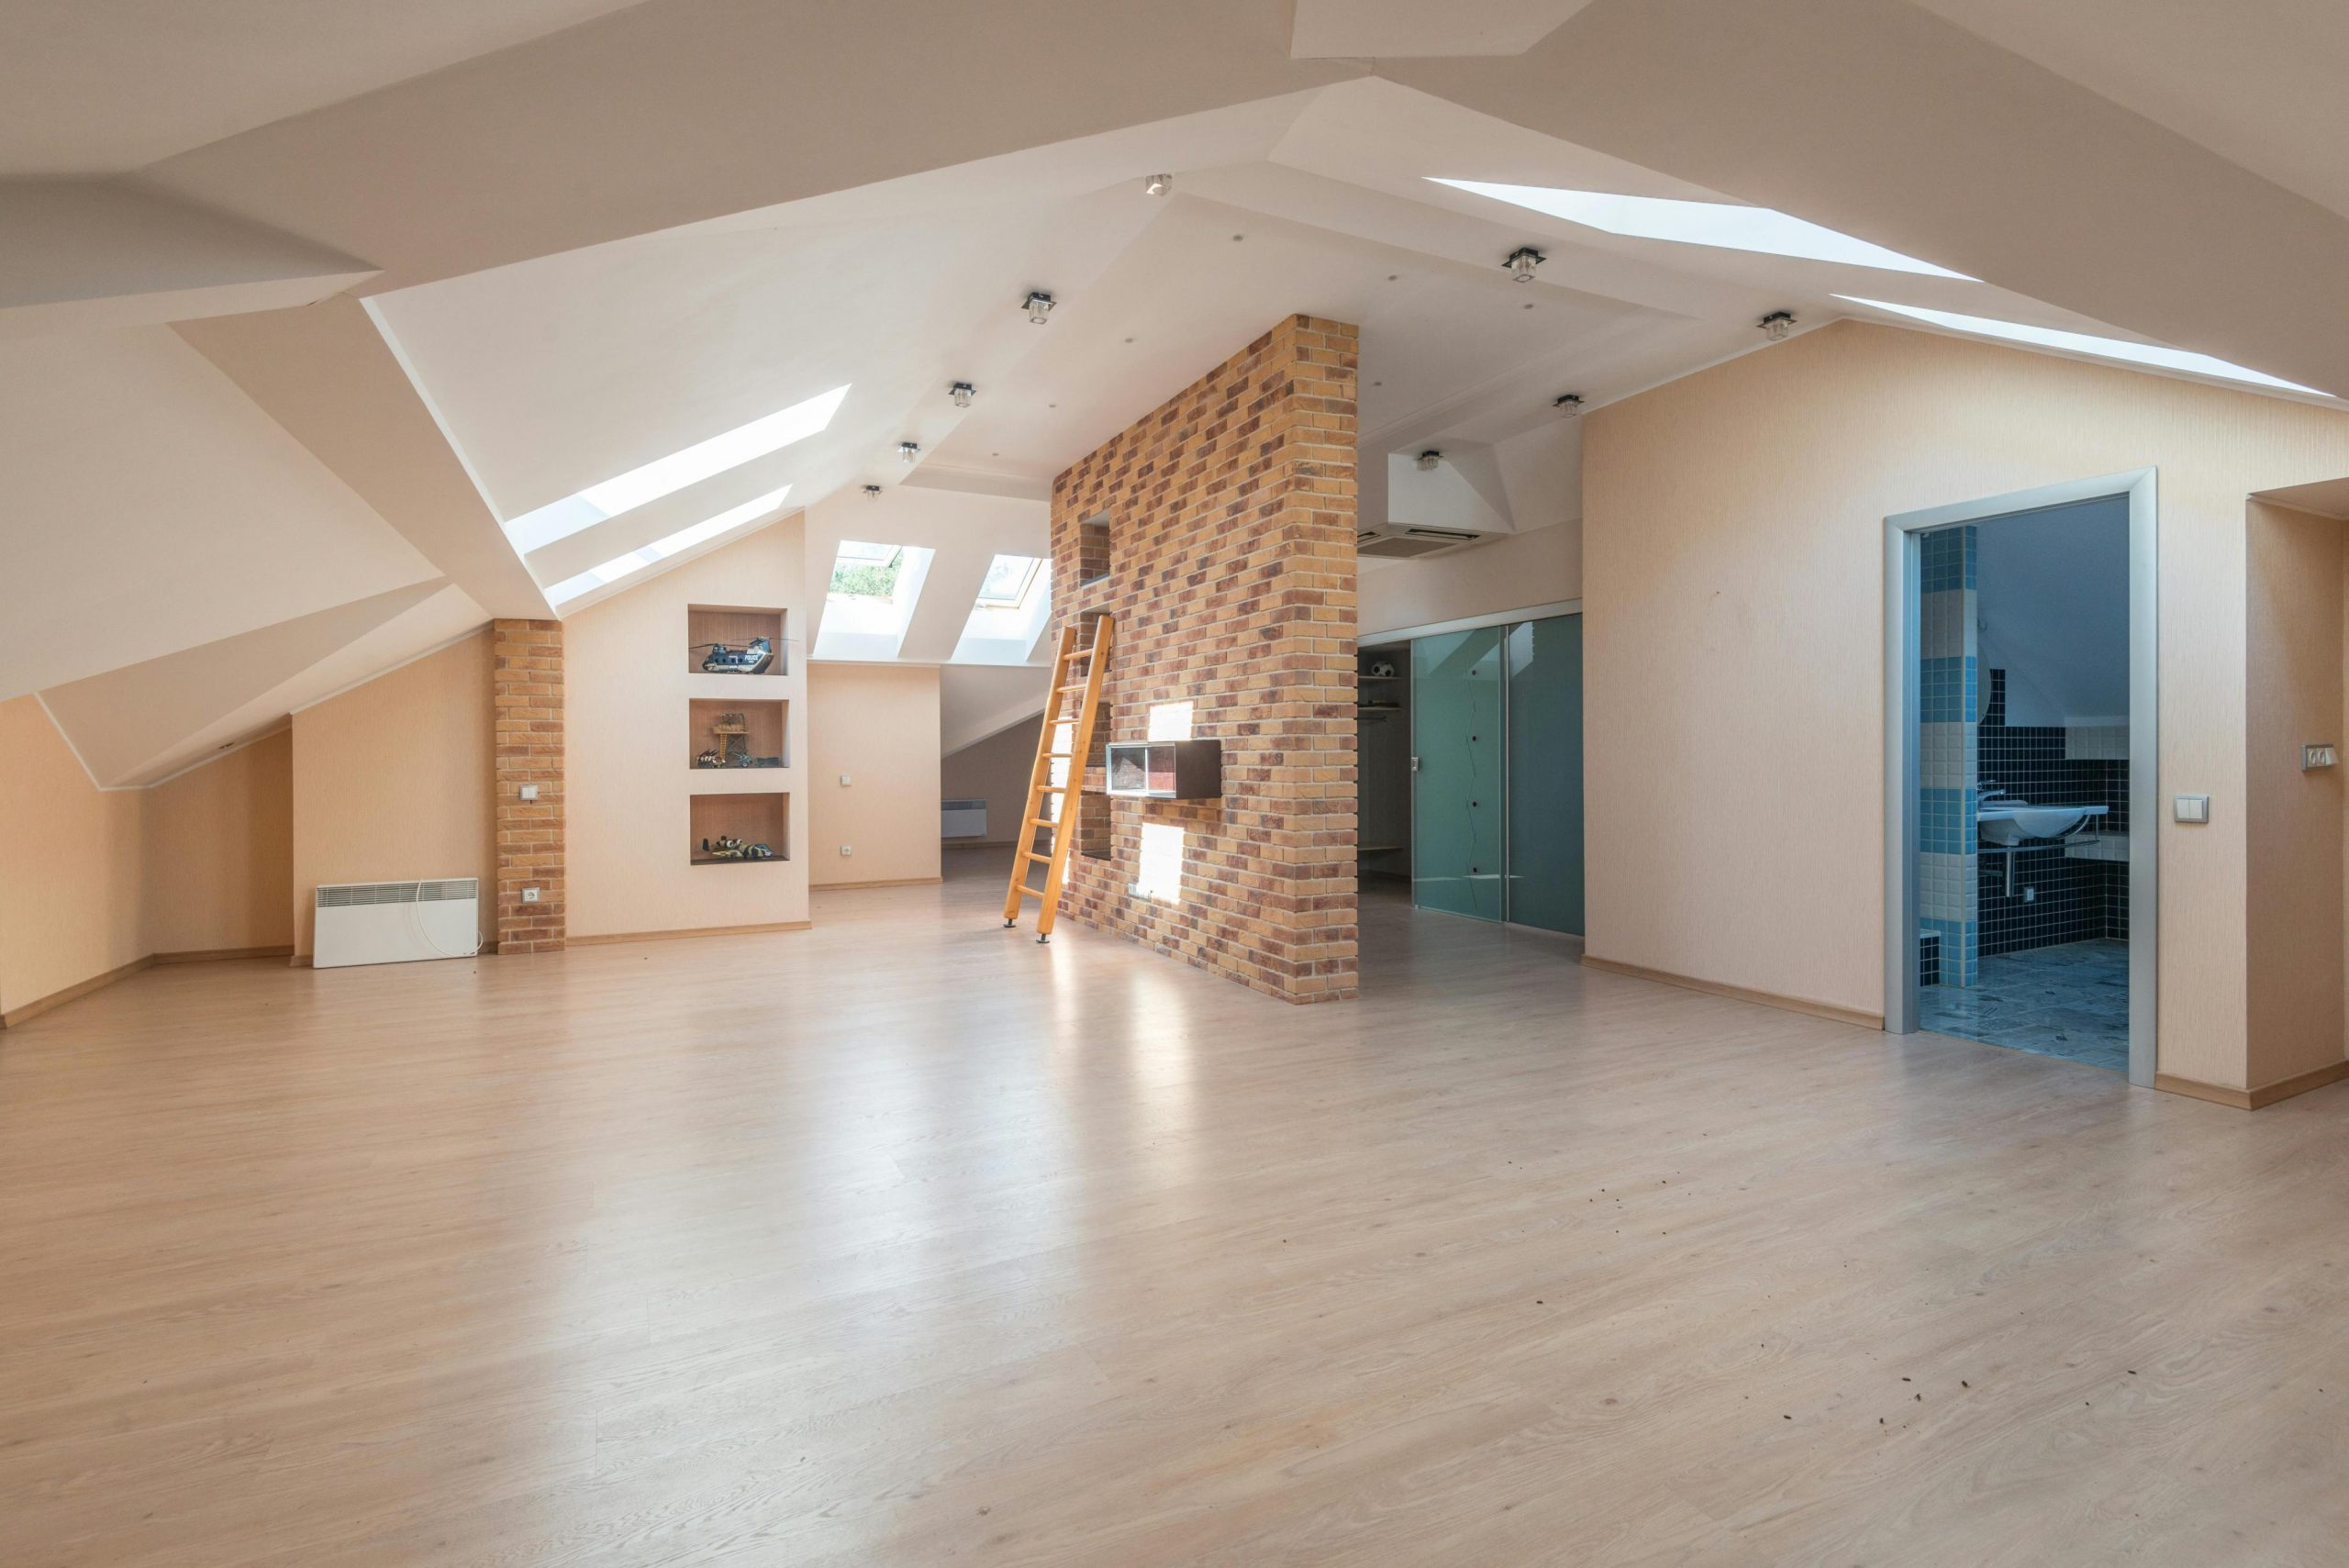
- Finished Attic (used as a bedroom or office):
Insulation is placed in the sloped roof and walls to keep the attic space itself comfortable.
Also check how you access your attic:
- Pull-down stairs
- Hatch door
- Walk-up staircase
Make sure the access point is properly sealed after insulating to avoid leaks.
Step 1: Check Existing Insulation
The first step in learning how to insulate an attic is checking what’s already there. Put on gloves and a dust mask, then grab a flashlight and head up to your attic.
Things to look for:
- Type of insulation (fiberglass, cellulose, spray foam, etc.)
- Depth: If the insulation is below or level with the attic floor joists, you likely need more.
- Damage: Look for wet, moldy, or compressed spots.
The U.S. Department of Energy recommends at least R-38 to R-60 for attic insulation in most climates. R-value measures how well insulation resists heat flow—the higher the R-value, the better.
Step 2: Choose the Right Insulation
There are several types of attic insulation. The best one depends on your budget, climate, and how easy your attic is to access.
- Blanket (Batt or Roll) Insulation
- Comes in large rolls or pre-cut strips
- Usually made of fiberglass or mineral wool
- Easy to install between joists
- Good for DIY projects
- Blown-In (Loose-Fill) Insulation
- Made of cellulose or fiberglass pieces
- Great for hard-to-reach areas
- Installed using a blowing machine
- Covers gaps better than batts
- Spray Foam Insulation
- Expands to fill cracks and gaps
- Offers high R-value
- Great for finished attics or sloped roofs
- Requires professional installation
- Rigid Foam Board Insulation
- Best for attic doors, walls, or small areas
- Durable and moisture-resistant
- Often used as a supplement to other insulation
Step 3: Seal Air Leaks First
Before adding any insulation, seal any holes or gaps that let air pass between your attic and the rest of your home. This step is often missed, but it’s very important.
Common air leak spots:
- Around pipes and wiring
- Recessed lighting fixtures
- Chimneys or vent pipes
- Attic hatches or pull-down stairs
How to seal them:
- Use caulk for small cracks
- Use spray foam for bigger gaps
- Install weatherstripping around attic doors or hatches
Air sealing boosts the effectiveness of insulation and keeps your home more airtight.
Step 4: Install the Insulation
Now it’s time to install the insulation. Be sure to wear protective gear: gloves, goggles, long sleeves, and a dust mask.
If using batt or roll insulation:
- Measure the space between attic floor joists.
- Cut the insulation to fit, if needed.
- Place insulation between the joists (paper side down).
- Don’t squash it—compressed insulation loses effectiveness.
- Cover the entire attic floor, even around vents and chimneys.
If using blown-in insulation:
- Rent a blower from a hardware store or use a professional.
- Follow the machine’s instructions carefully.
- Blow insulation evenly across the attic floor to the recommended depth.
If insulating a finished attic:
- Place insulation between roof rafters or behind wall framing.
- Consider rigid boards or spray foam for sloped ceilings.
- Add drywall or paneling over the insulation for a clean finish.
Step 5: Insulate & Seal the Attic Access
Don’t forget the attic door or hatch! These are common sources of air leaks.
How to insulate attic doors:
- Add rigid foam board insulation to the back of the door.
- Use weatherstripping to seal the edges.
- Consider an attic stair cover or box to keep drafts out.
A properly sealed attic entrance keeps your insulation system working efficiently.
Step 6: Ventilation Still Matters
While you want to keep heat in (or out), attics still need proper ventilation to prevent moisture problems and mold.
Types of attic vents:
- Ridge vents (at the peak of your roof)
- Soffit vents (under the eaves)
- Gable vents (on the sides of the attic)
Good airflow helps remove hot air in summer and moisture in winter, keeping your attic and insulation in good shape.
When to Call a Pro

Insulating an attic can be a DIY project, but it’s okay to call in help, especially if:
- Your attic is hard to access
- You want to use spray foam
- You’re unsure about R-values
- There are signs of mold or pest damage
Professionals can inspect your attic, suggest the best insulation, and make sure it’s done right.
Budgeting: How Much Does It Cost?
Costs vary depending on your attic’s size, location, and insulation type.
Average cost to insulate an attic:
- DIY with batts: $1.50–$3.00 per square foot
- Blown-in insulation: $2.00–$4.00 per square foot
- Spray foam (professional only): $4.00–$7.00 per square foot
The good news? You’ll likely save money in the long run through lower energy bills.
Safety Tips Before You Start
- Watch your step—only walk on joists or boards to avoid falling through the ceiling.
- Turn off power to the attic if working near wires.
- Don’t block ventilation with insulation.
- Avoid covering recessed light fixtures unless rated for insulation contact.
Bonus Tip: Planning for an Attic Renovation
If you’re thinking about an attic renovation—turning the space into a bedroom, office, or playroom—it’s even more important to insulate it well. A properly insulated attic will be more comfortable year-round and save you money once it’s in use. Make sure to plan ahead and insulate both the roof and walls if you’re finishing the space.
Final Thoughts
Knowing how to insulate an attic is one of the smartest things you can do as a homeowner. Whether you go the DIY route or hire a pro, good insulation will pay off in comfort, energy savings, and even home value. With a little time and effort, you can turn your attic into a cozy, efficient space—ready for whatever plans you have next.
